A few weekends ago I had the pleasure of recreating this classic CHAINMAIL scenario, originally written by Gary Gygax!
I had the opportunity to play this scenario on the Legends of Wargaming sand table at GaryCon VI, thanks to Paul Stormberg and Kevin Maurice and special guest Judge Terry Kuntz. I really enjoyed it and gained a new appreciation for the CHAINMAIL Man-to-man rules as a result.
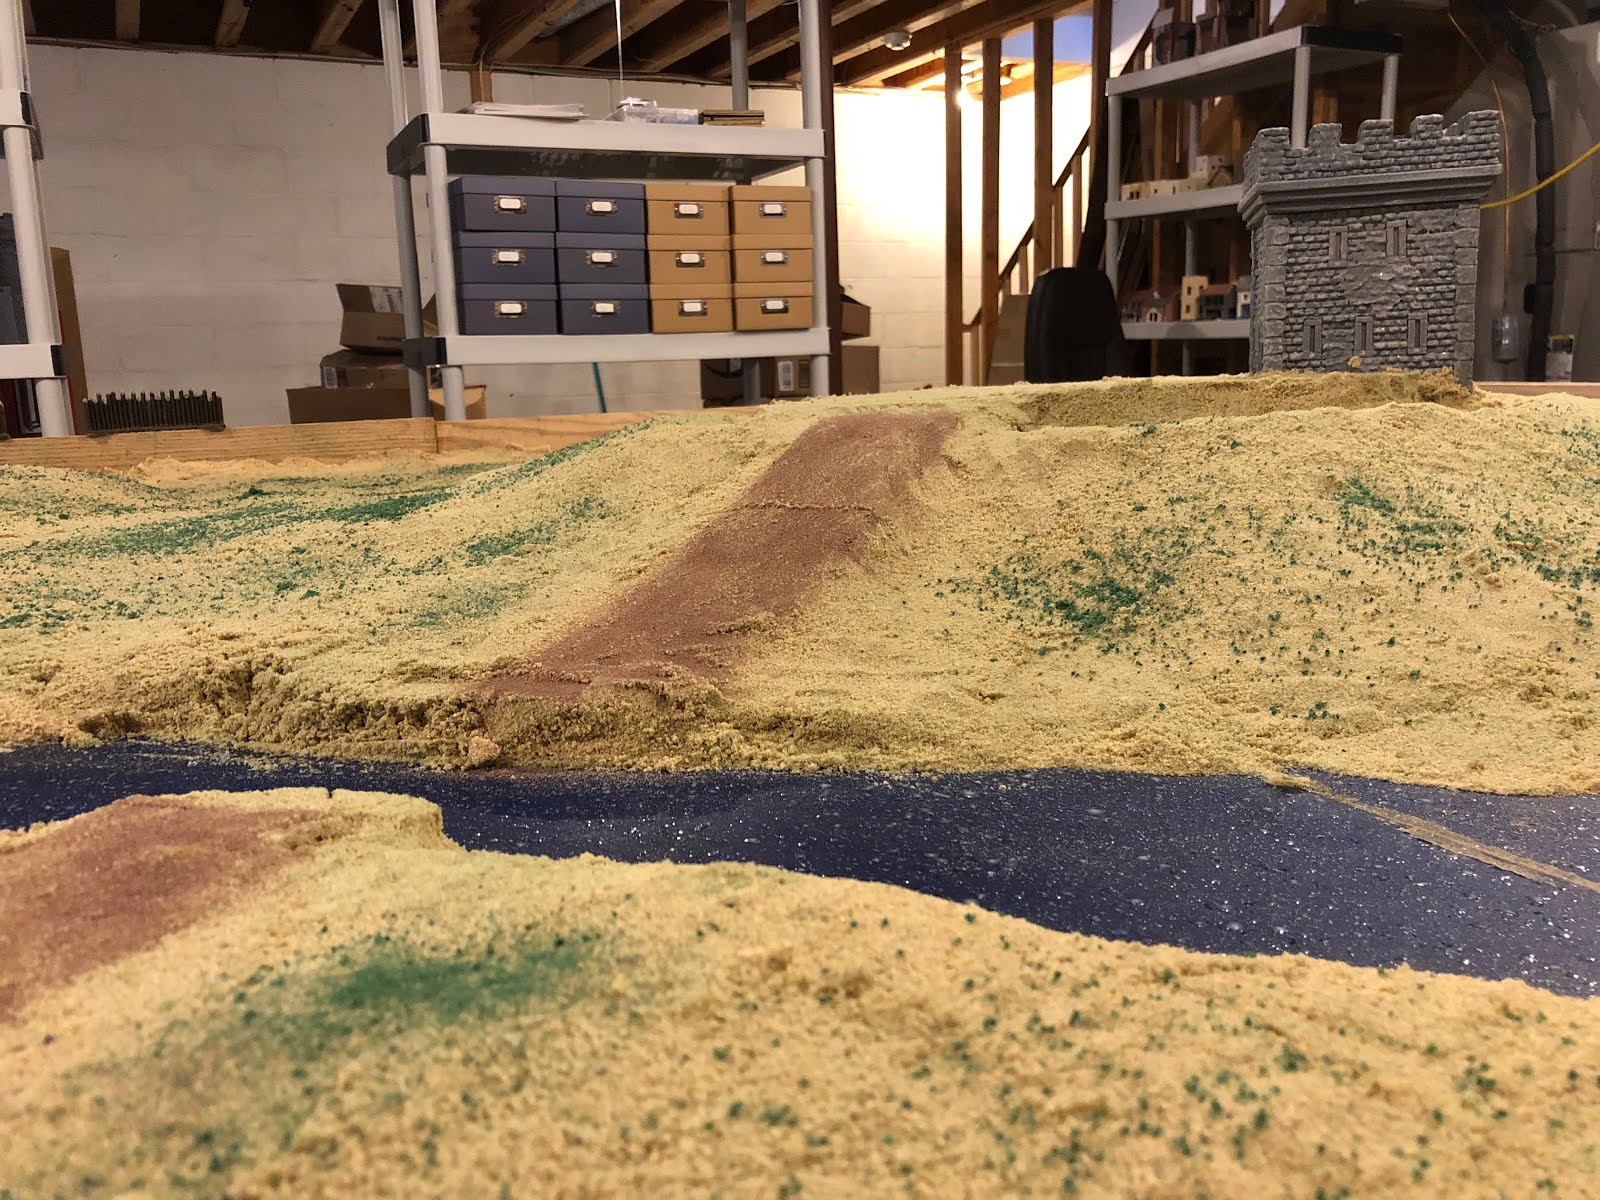
When I started building my own sand table and wargaming room I was always mentally aiming to make this happen, and quite a few years later, it finally did.
In the first post of this series, I showed how I set up the table and put together the opposing armies. In this post I will cover the scenario rules, army set up and initial moves.
Scenario Rules
I used the same base rules as the original scenario created by Gary Gygax, Chainmail, rules for medieval miniatures by Gary Gygax and Jeff Perren, finally legally available for less than a months' rent! This scenario uses the Man-to-man or Siege rules located towards the back of the book.
These rules are pretty old and fairly difficult for the non-wargamer. Most of my players for this game were not life-long wargamers and none had played the Man-to-man rules before. I created the following documents to give them the basics of the game and some trimmed down tables for terrain and combat that applied to the units present in the scenario.

I made some minor changes to the rules as well. For army set up, I allowed the commanders of each longship to pick their landing spot, anywhere on the beach areas around the headland, but not up the estuary. The Normans could be anywhere in the fort but their were some units allowed to start deployed hidden in the woods on the fort side of the river. Also, there were some advantages to positioning troops in the stone tower.


Another change from the original scenario is that I had the Viking crews deploy their troops in thirds, over 3 turns, within 5" of their ship prow. I compensated by pushing back the arrival of Norman reinforcements by a few turns.


Initial Moves
The initial moves were fairly straight-forward. The viking band led by Olaf Firehair charged for the palisade immediately. So hastily, in fact, that they left a few ladders sitting on the ship. A mistake that would prove costly later.
The second crew, led by Snorre Iron-Hat, tried to be a little more sly and work their way around the headland to the fort gate. The Norman defenders took advantage of this caution by peppering Snorre and his men with several turns of bow-fire.


Olaf and his reavers reached the wall first and attempted a simultaneous escalade and axe attack on the wooden palisade.


The yellow band on the model indicates he is climbing, and at the top of the ladder this turn. Those bands are really great for miniature wargaming. I found them because my daughters were into making these bracelets out of them. They were all the rage a few years ago and you can buy a plastic box of about 12 different color bands for really cheap.
Snorre Iron-Hat and his men eventually made it up the estuary and began their assault on the main gate.


Middle Rounds
The battle was finally well and truly joined!


Unfortunately for the Vikings, the cheers from the Norman tower let them know all was not well...


The vanguard of Sir Hugh's cavalry had arrived!
Next post, I will cover the conclusion of the battle as well as some lessons learned from the whole affair, and how I may change things up for the next time.


